Hello, Friends! This may be a year of trying new things for me. I made my first coat earlier this year, and now I am back with my very first BAG!
This is the Styles Inseams Studio Antonio Tote bag.
I actually got to see the real-time creation of this pattern on Robyn's Instagram. I specifically remember her wanting to make sure that the bag she was making was SPACIOUS and had a pass-through pocket for luggage handles. When I saw the part about the pass-through pocket, I knew I NEEDED it.
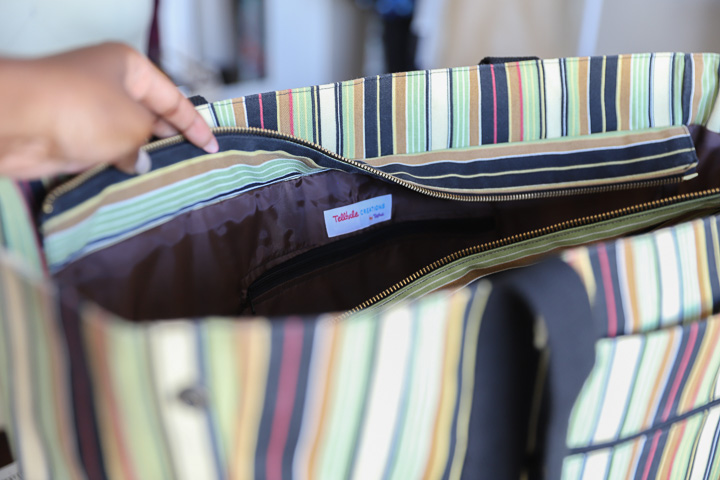
The fabric I chose is this upholstery that I have from the KHolmes Collection (somewhat inherited fabric, still need to tell the story.) There was JUST enough of it, and the brown lining came from the same collection of fabric.
I wanted my bag to be stiff and sturdy and have really great structure so I also interfaced all of the outer body pieces (upholstery fabric) with heavyweight interfacing. I'll be honest though, my bag still collapses and doesn't hold its shape (especially on the bottom). If I make this bag again, I would sew in a board on the bottom so that the base of the bag keeps its structure. (I stuffed the bag for these photos so it would stand up)
For the notions, I picked up the zippers from Hobby Lobby because I didn't have any of the right lengths in my stash. Also, the webbing for the straps is also from Hobby Lobby and is PERFECT for this type of bag.
I picked up some Tandy snaps and a setter kit from Amazon for the side panels. I also wanted to add some things at the bottom of the bag so that it wouldn't always be touching the ground, but because I was making this bag for a specific trip, and I had to leave in a matter of HOURS, I pulled out some studs I had in my stash lol. They aren't made for this specific job, but they didn't fall out during my travel so I count that as a plus LOL
It's kind of difficult to use the snap function of the side panels if you add the optional zipper closure to the top of the bag, so I think that is something to keep in mind. The panels of the zipper closure get in the way and the bag ends up misshapen if you snap the sides closed. In my case, my bag was FULL the entire trip so I didn't use the snap feature, although they are there.
As far as the instructions and pattern pieces, there were a couple of spots I was confused about and some pattern pieces that weren't lining up the way they should. I did write Robyn an email about the discrepancies I found in the pattern since she said she was open to it. As a more experienced sewer, I was able to figure things out, but I think a beginner would be stumped. Hopefully, she updates the pattern in the near future!
I will continue to use this bag for future travels, and if I make it again, I would know how to make it even more perfect for myself! I'm thinking about a Weekender bag for my next tote make!
Let me know what you think in the comments! Which tote/bag pattern has been your favorite or which have you had your eye on??
See you soon!
xoxo,
xoxo,
Tasha


No comments:
Post a Comment
Thank you so much for taking the time to comment! :-D
I read each one and I do my best to respond to each of them personally :-)