
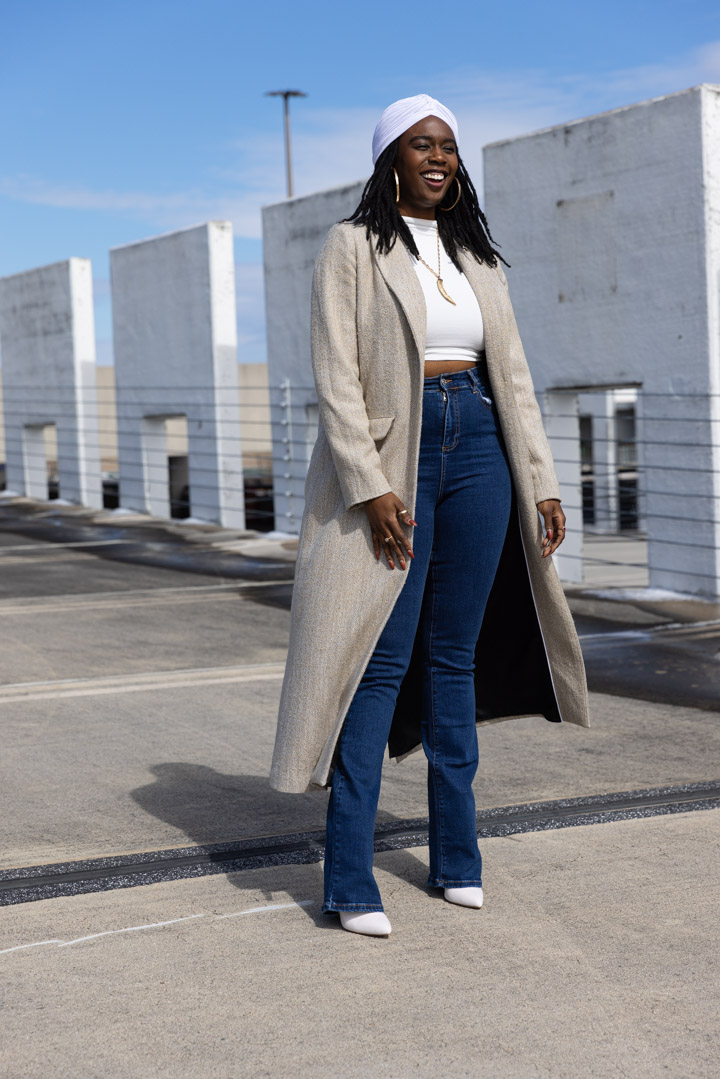
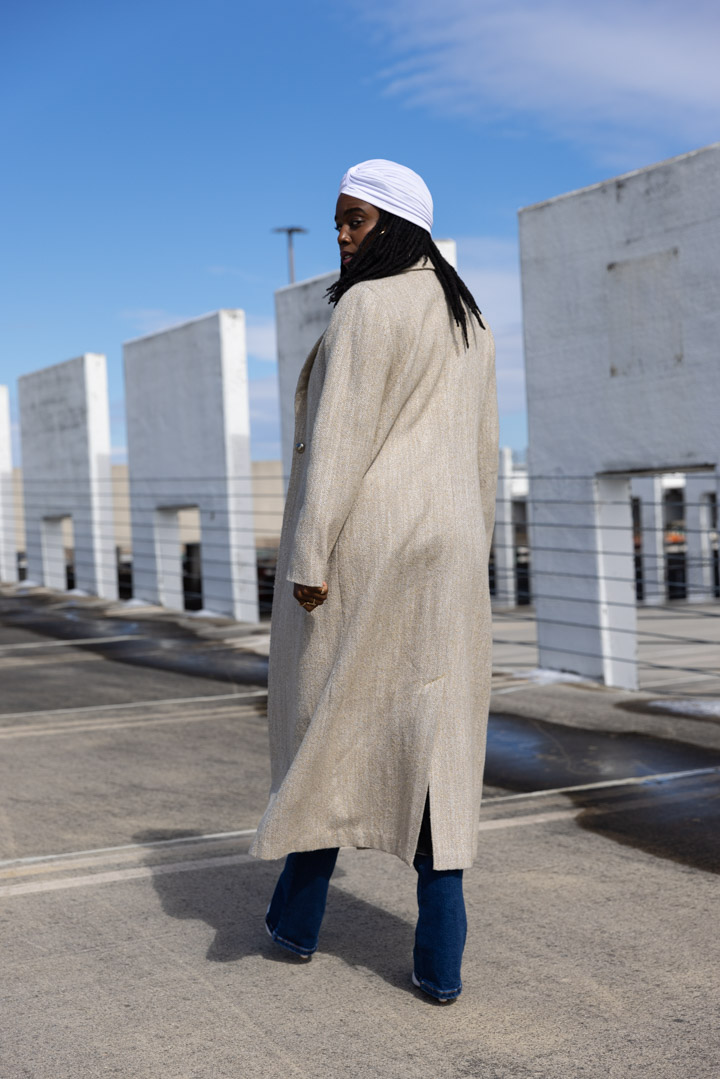
It's mid-March and not only is it between 20 and 40 degrees outside most days, but it SNOWED over the weekend! My only happy solace from these thoughts is that I finally finished the coat I've been working on for the past 2 years! I've always wanted a proper coat. Something that I could wear when I dress up for black tie events and things, but also just be stylish enough to throw on over a set of sweats. As an adult, most of my coats have looked more utility in nature, and generally just not... CHIC lol So this coat has stepped in to fix my problem.
I have made 3 jackets so far (here, here & here), but never a coat.
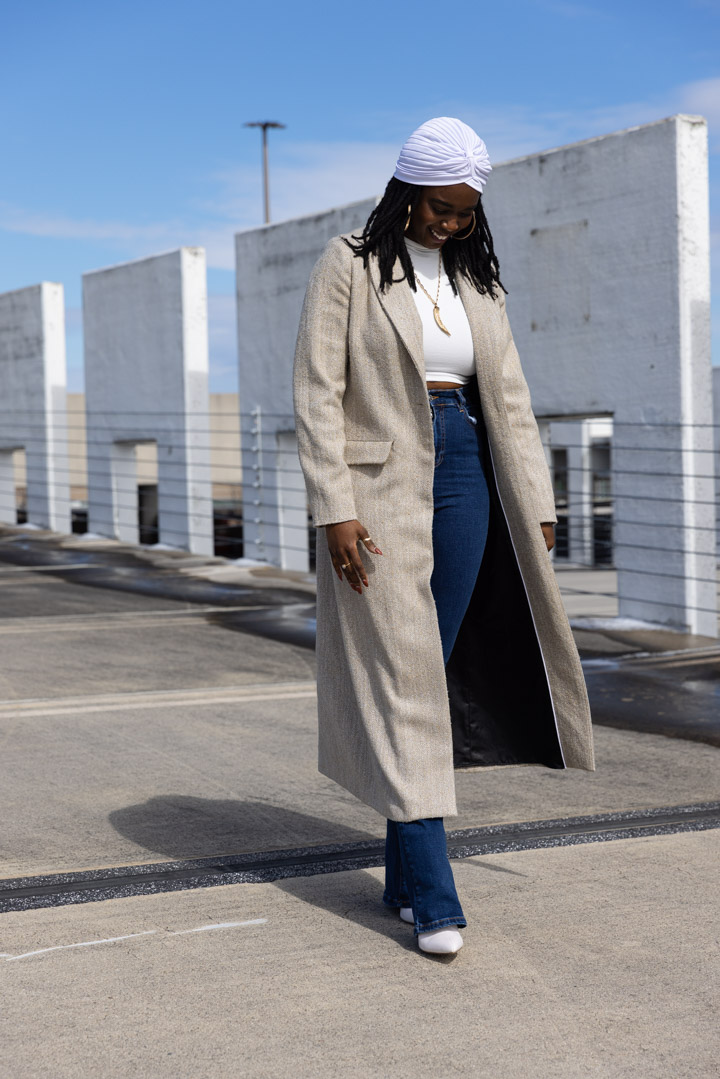
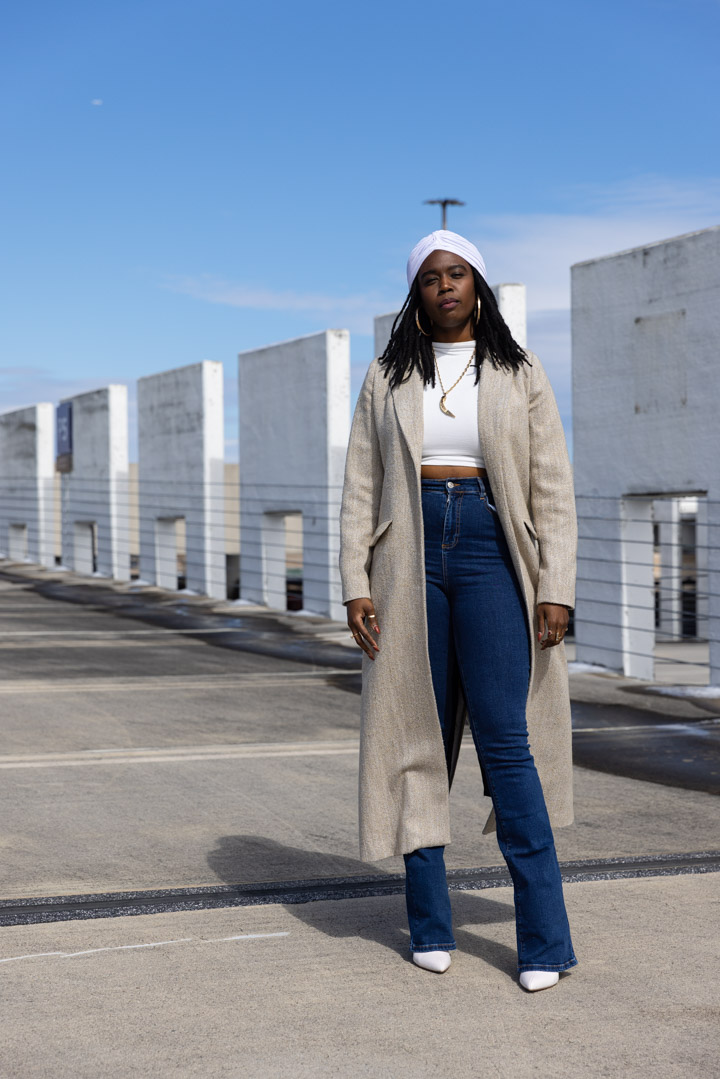
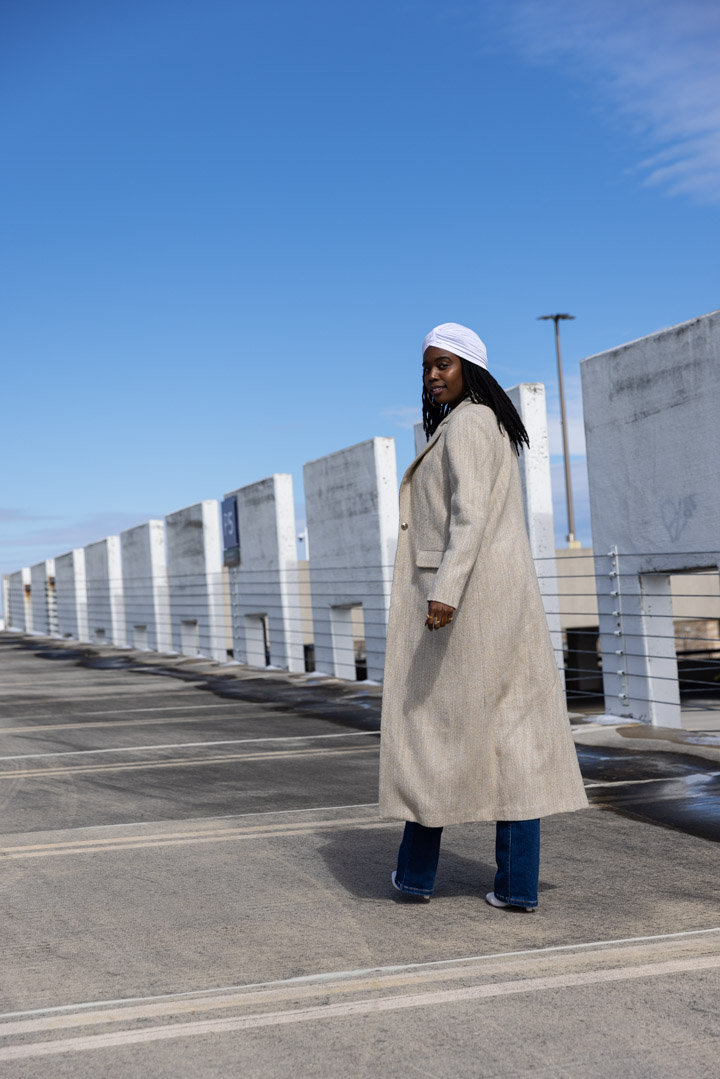
This beauty is Mimi GxSimplicity 8749, View B in a size 16.
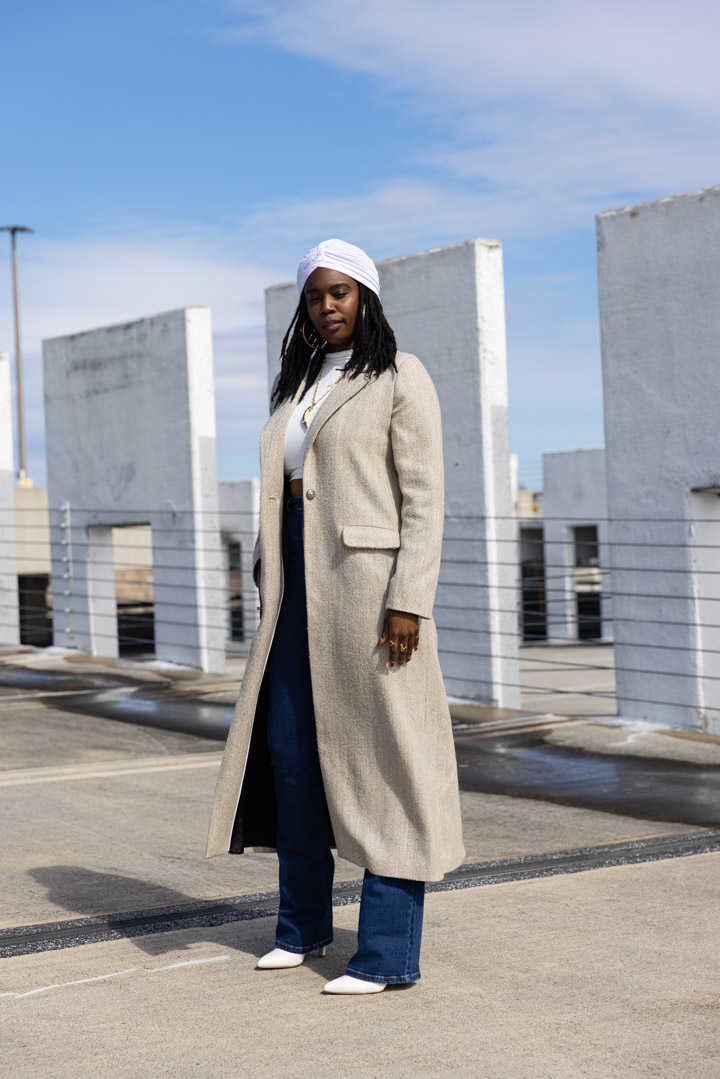
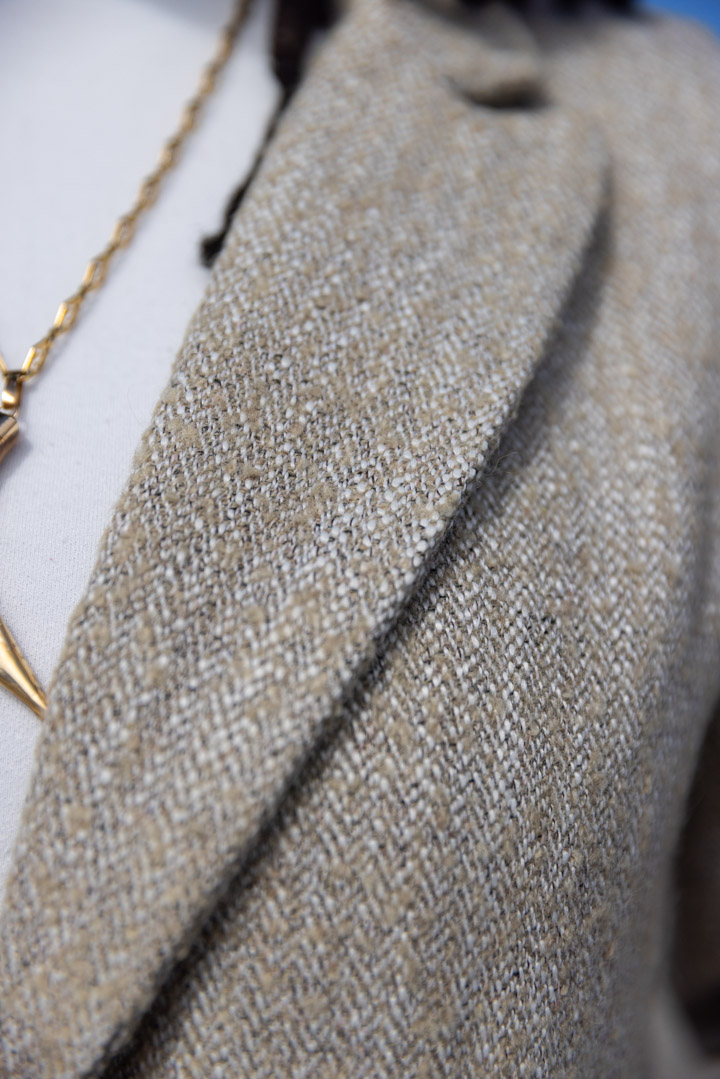
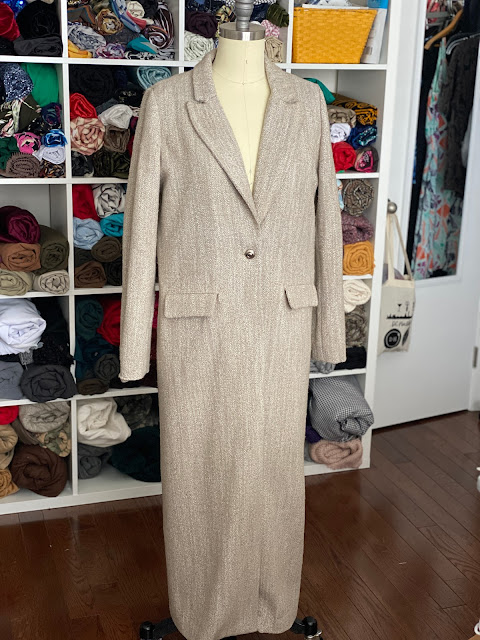
This outer shell fabric is another one from the KHolmes Collection. It is luxurious tan herringbone wool. It was very easy to work with, aside from the fact that I think it grew on me a little bit... but I'll talk about that more later.
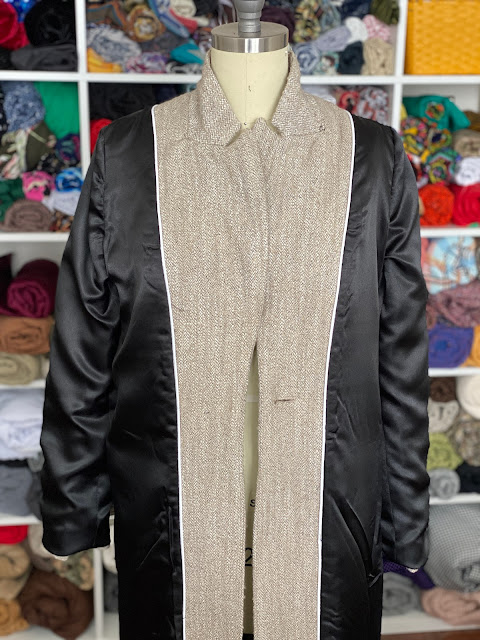
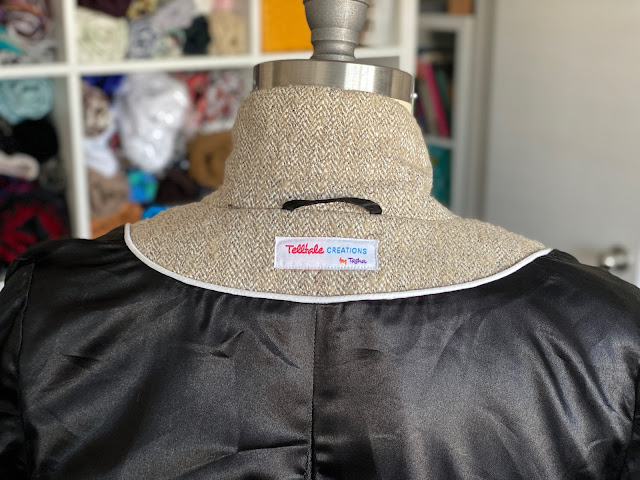
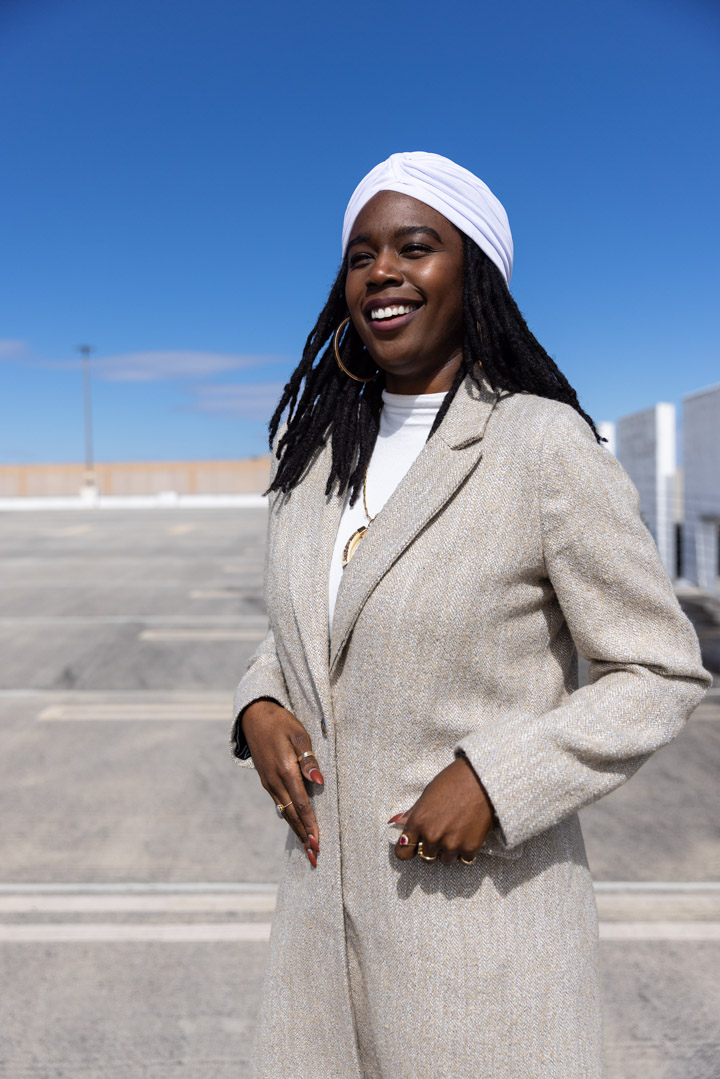
The lining is a black polyester, and I decided to add white piping between the lining and the coat facing to give the coat a little bit more interest. (Please forgive the wrinkled lining. I had just ironed the outer shell.)
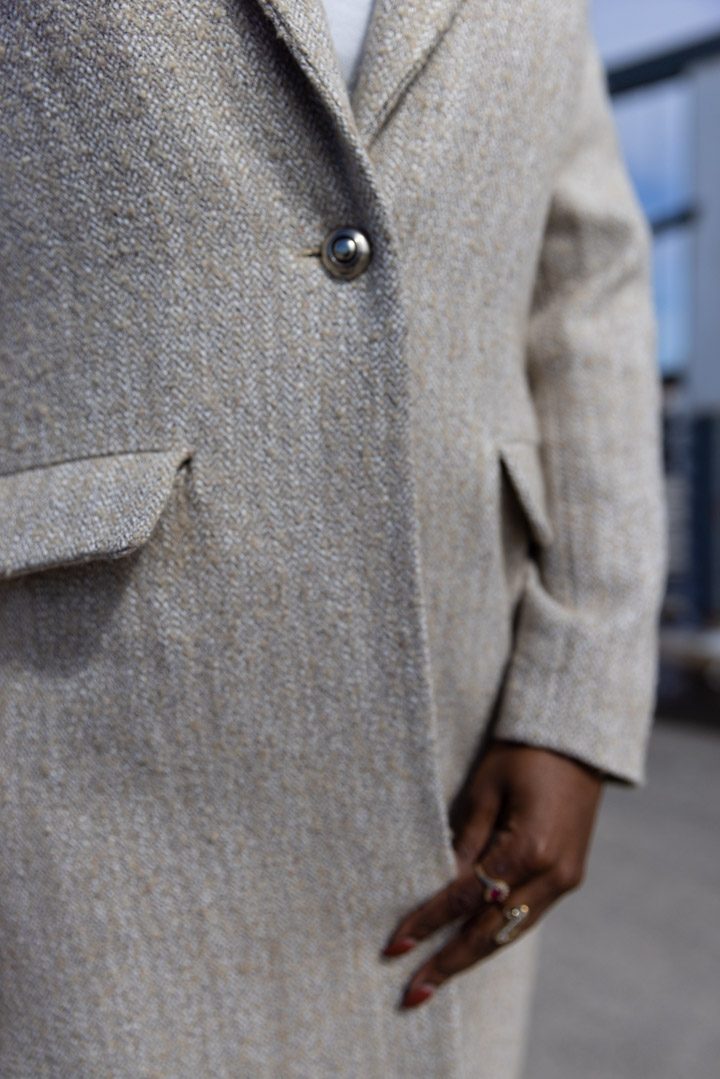
The button I used is pewter and it is one-of-one from an assortment of buttons I got years ago from GStreet Fabrics. I normally would do gold hardware in my garments but I wanted the button to feel muted against the fabric
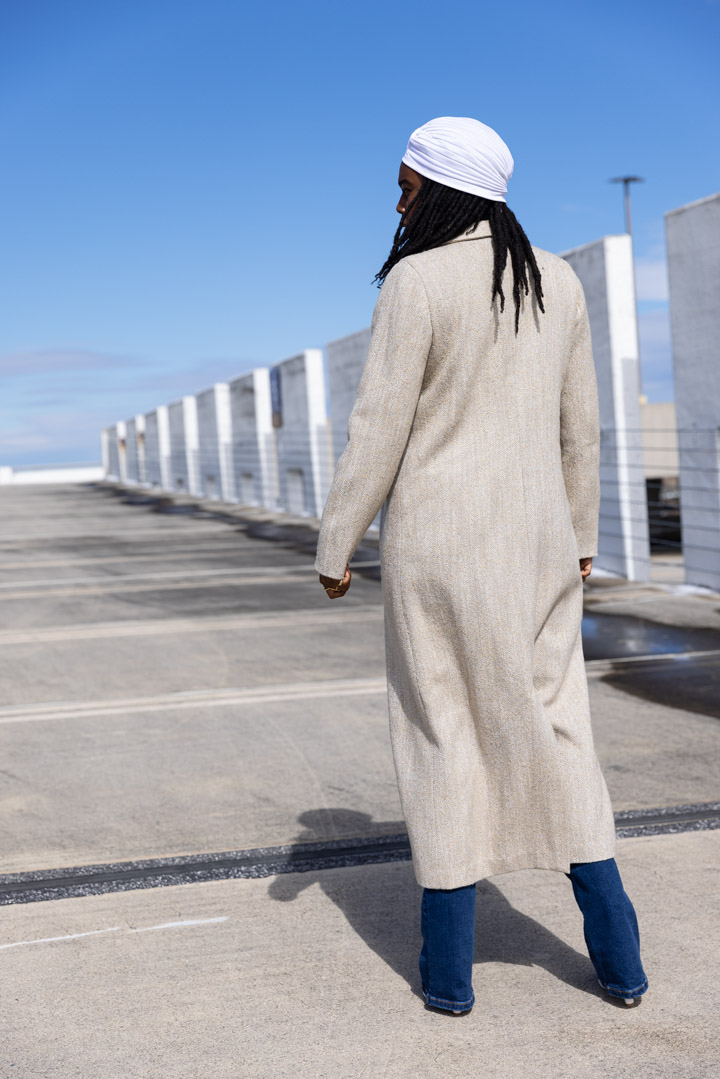
For other modifications, I added 2 inches to the body of the coat as well as to the length of the sleeves.
I also made sure to understitch the coat's front facing all the way up to before the lapel folded back to ensure that the front of the coat pressed well.
I also added a coat hanger (?) so that I don't cause any dents in the neck of the coat when I go to hang it.
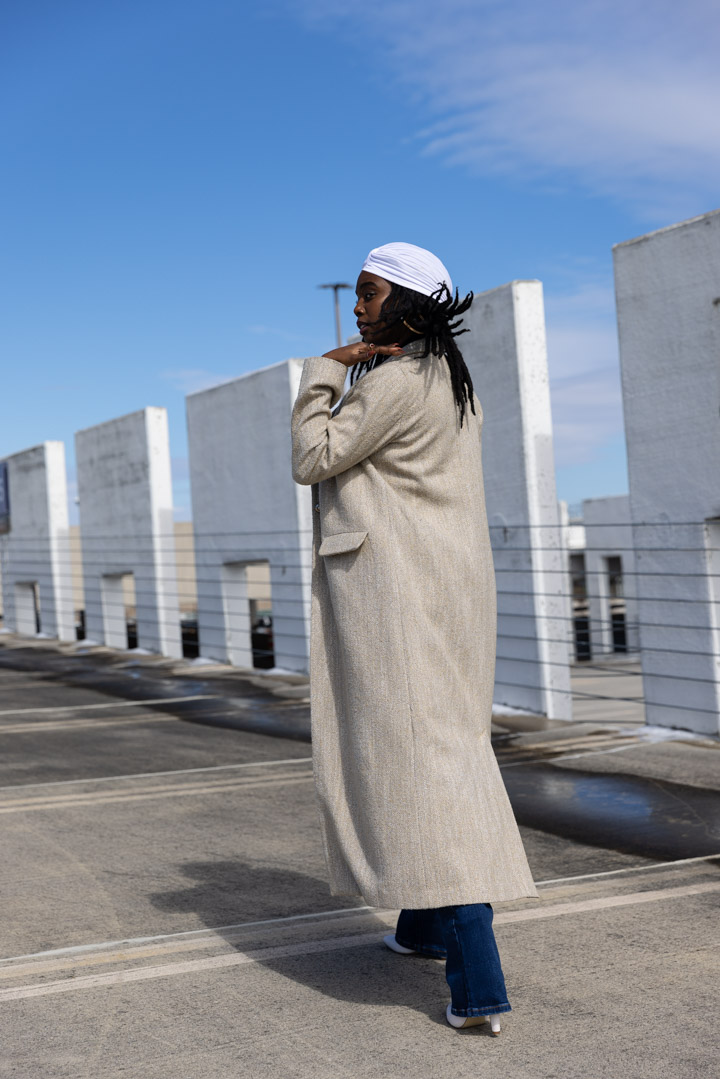
The making of this coat was a little confusing at parts, but luckily there is a video tutorial that accompanies the pattern, but for the shorter version of the coat. So when it came to figuring out how to sew the vent properly, I had to find another video. Also, the instructions for finishing everything off started to get vague, until it clicked that the lining is just supposed to hang free. It would have been nice if that was explicitly stated somewhere.
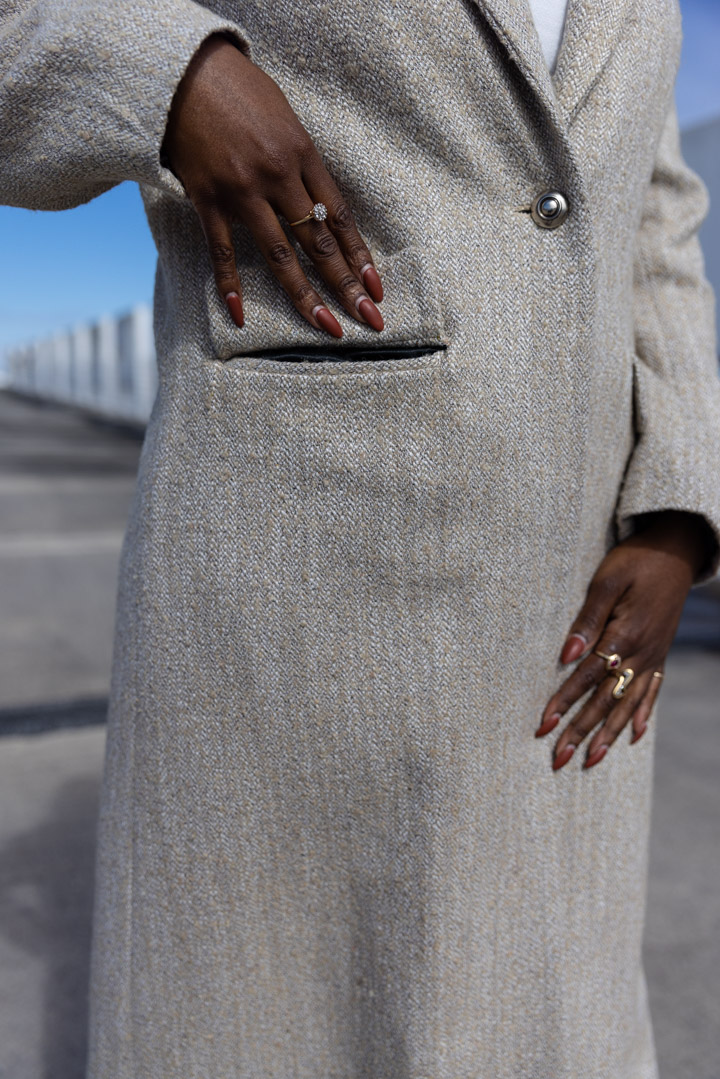
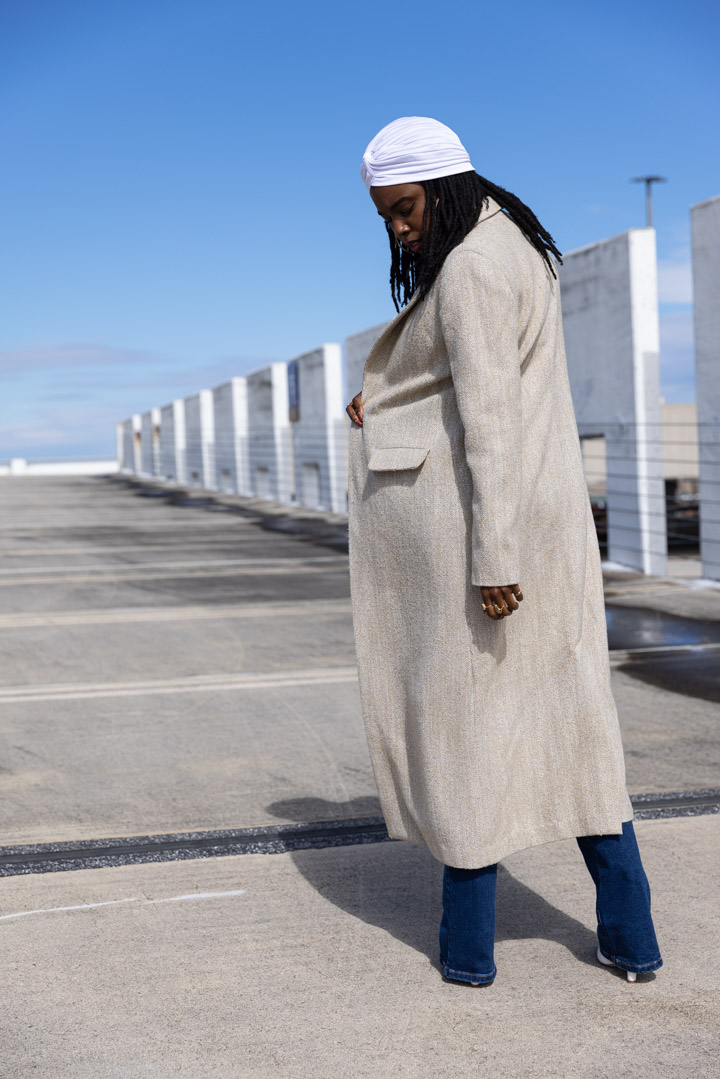
I also did my first welt pockets on this coat! I was terrified, like most, but the video tutorial really held my hand through it.
This coat is such a show-stopper when I'm out in public and I'm REALLY happy with the way it turned out!

Now, that I started with positivity, there is one issue that I have with this coat. For some reason, there seems to be extra fabric hanging near the bottom of the facings which gives the appearance that the lining is pulling somewhere in the wrong way. I noticed that in Mimi's tutorial, her shell pieces were fully interfaced, so I'm assuming I wouldn't have had this issue if I had interfaced my pattern pieces. But I did try to press the fronts of the coat with lots of steam in hopes to shrink the wool in that area, but I didn't have much luck.
Overall, I am super happy with it! Let me know what you think about this labor of love in the comments below! Also, if you have any tips about working with or shrinking wool, I'd love to hear from you!
xoxo,
Tasha
No comments:
Post a Comment
Thank you so much for taking the time to comment! :-D
I read each one and I do my best to respond to each of them personally :-)