
Hello, friends! Long time no talk... sewing has definitely been going on!
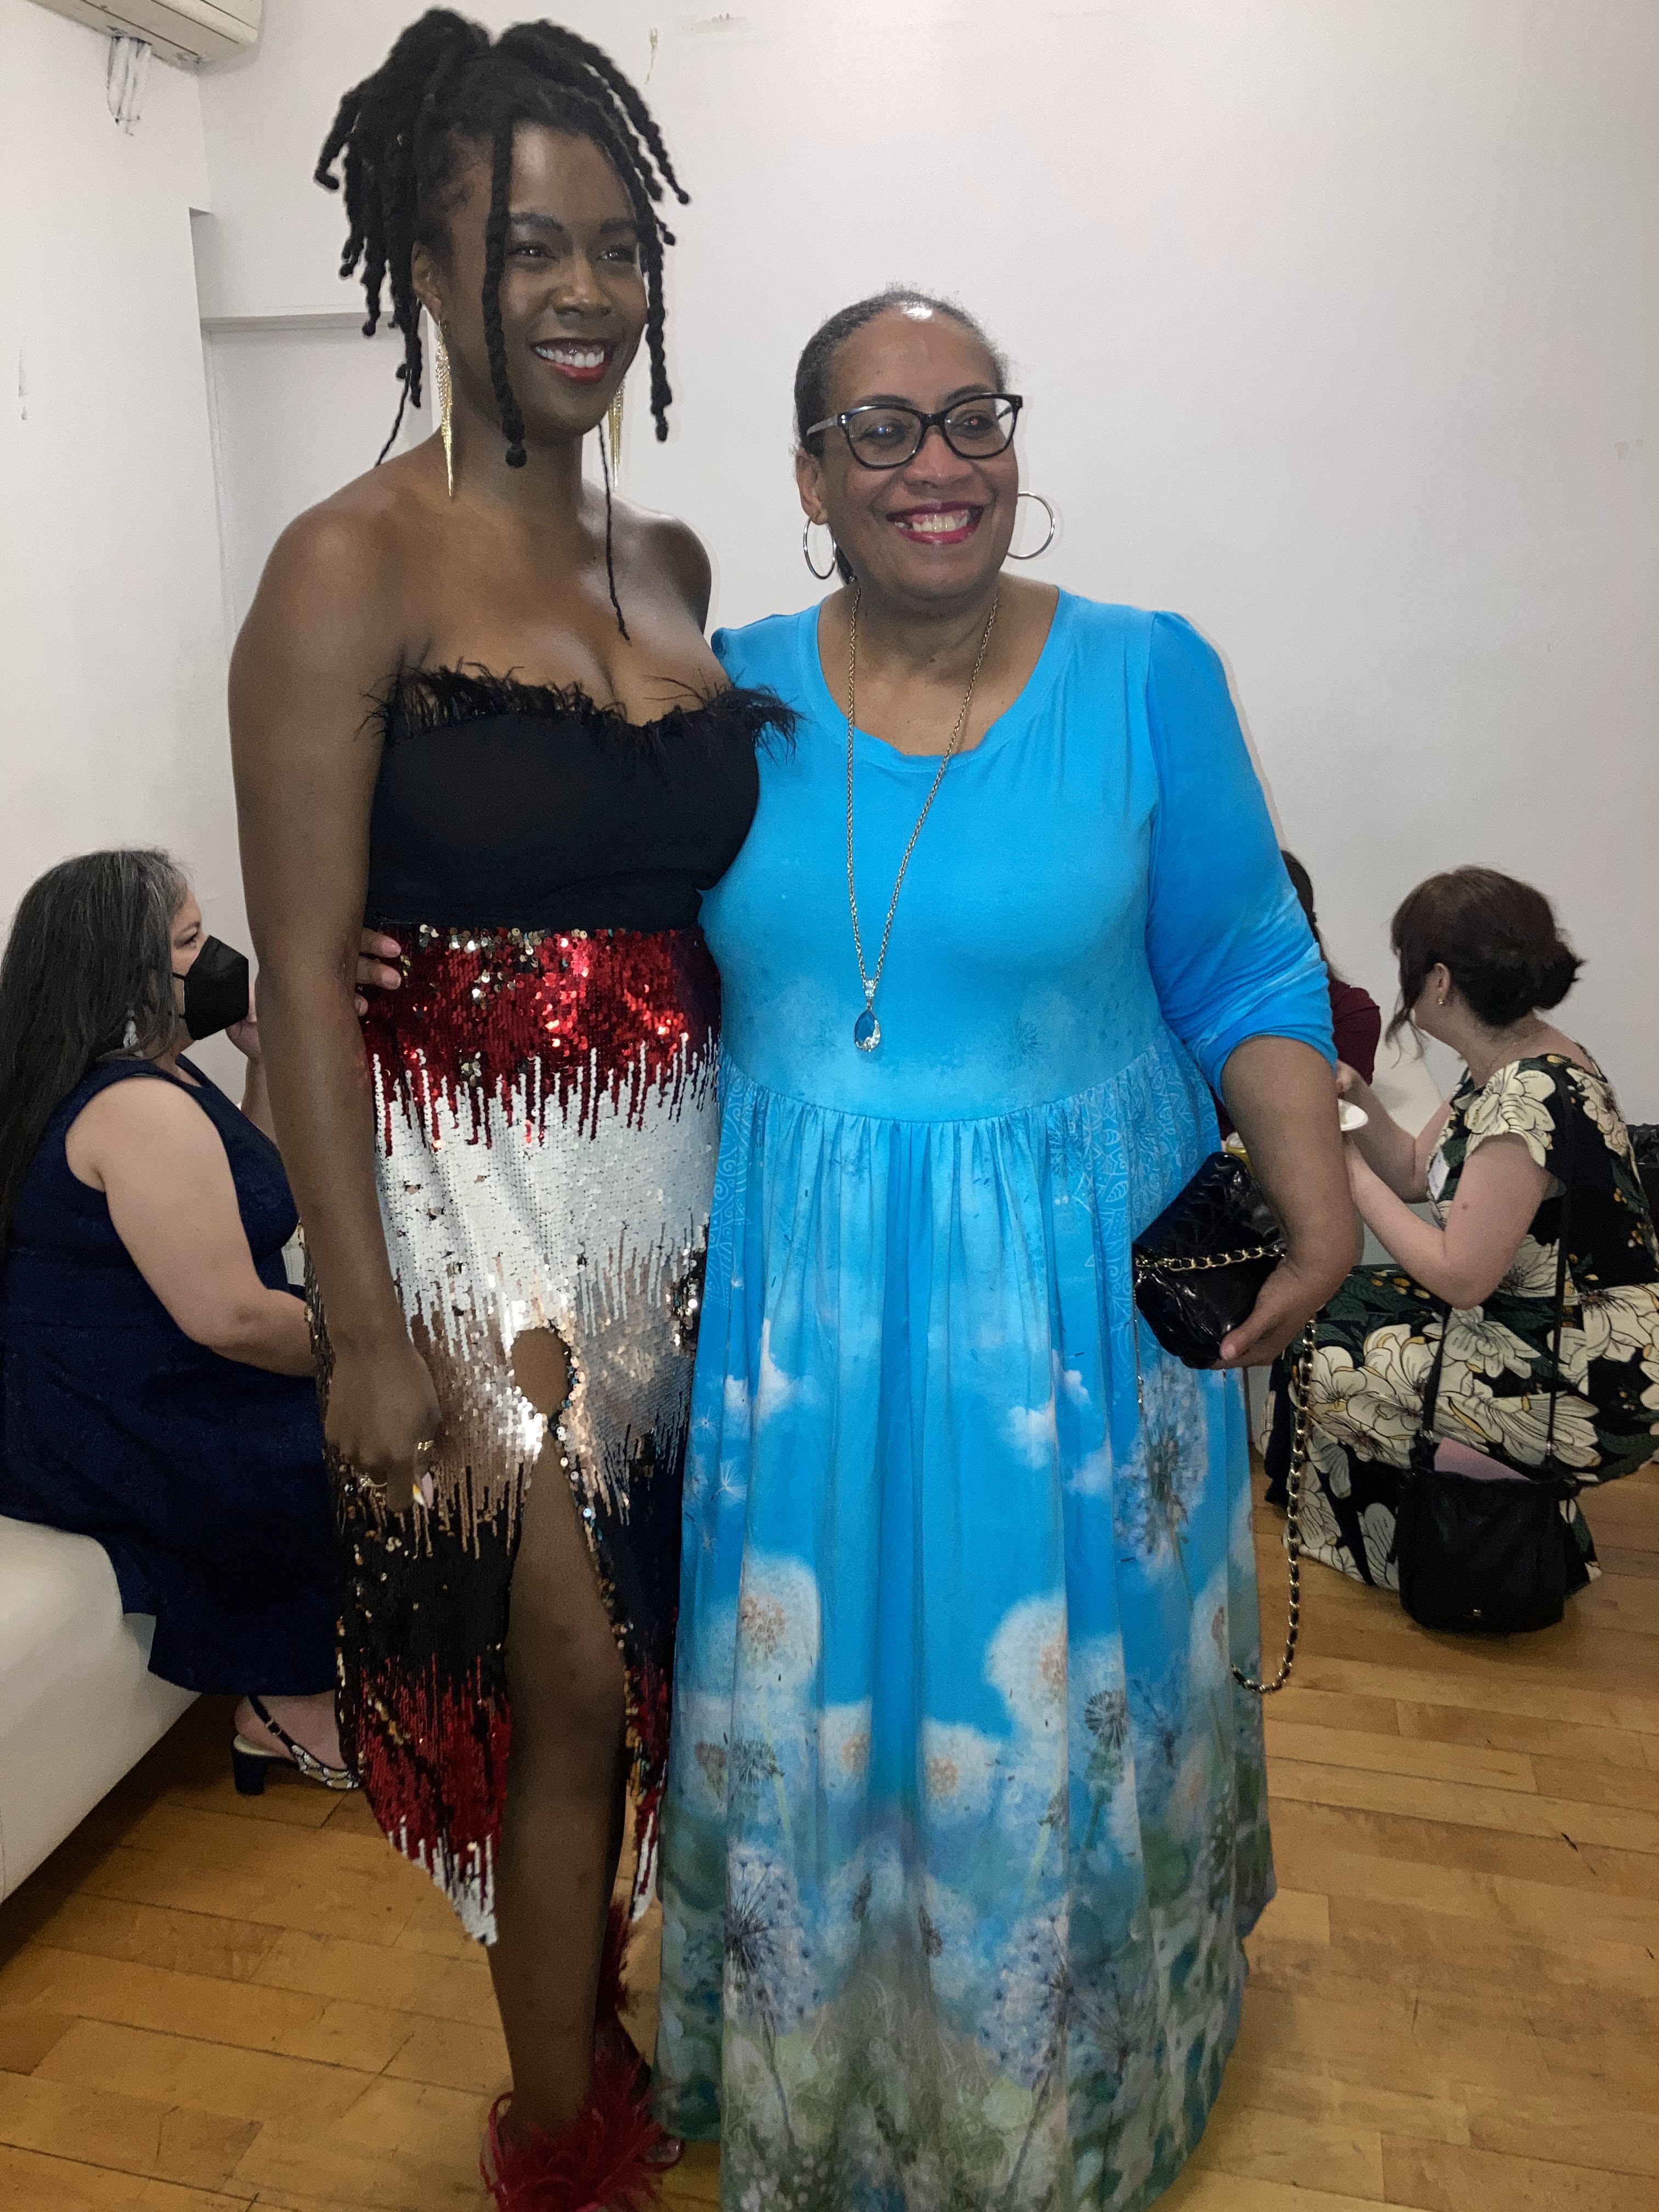
I'm back with the skirt I made to attend NYC Frocktails, and BOY is there a lot to talk about!

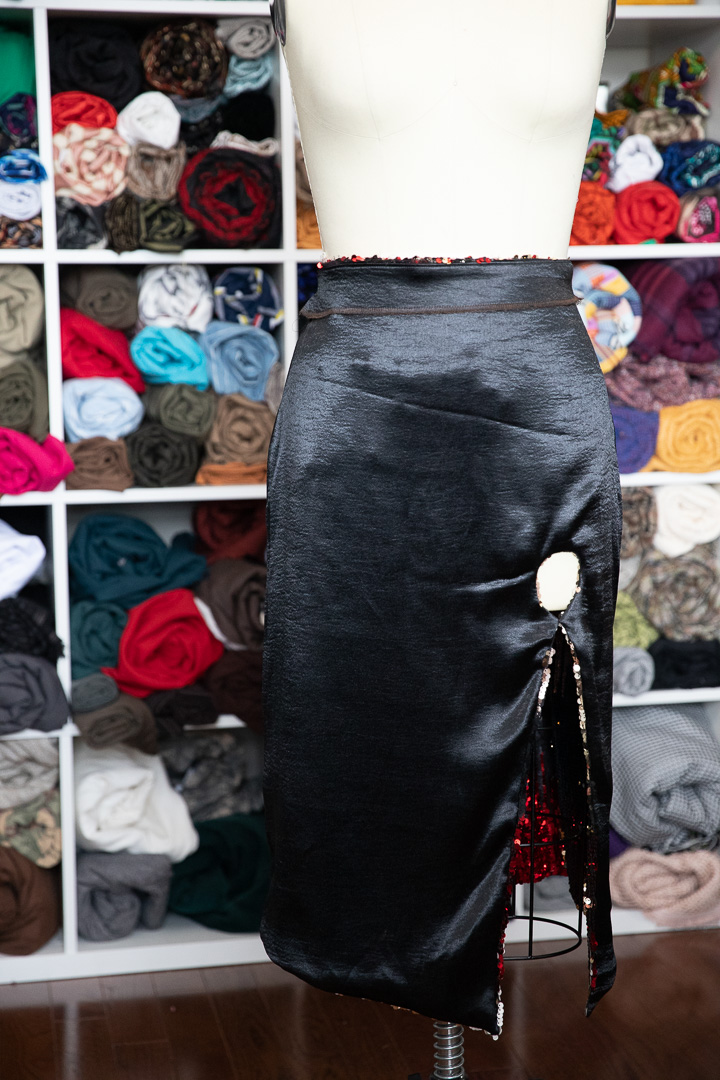
This is the 10K Midi Skirt from Tammy Silver in a size G (spoiler: I should've gone smaller).
 |
| Photo by Anjelica Jardiel @anjelicajardiel |
Let me first start this deep dive by talking about the fabric. This is a stretch reversible sequin fabric that I picked up at Los Tejidos in Panama. You can see that fabric haul in this previous blog post. I picked this fabric because it was beautiful and so dynamic! This was my first time ever sewing with sequins so my rude awakening was soon coming LOL


Cutting the Fabric
I did some research on YouTube on the best ways to cut sequin fabric because everyone talks about how much of a pain and mess it is. I found a video that showed to use painter's tape underneath the pattern pieces a little past the pattern piece edge so that you are cutting the piece directly on top of the tape.This minimized a GREAT deal of mess that I would've had to handle because the tape catches 90% of the cut sequins.


I did keep my hand vacuum next to my cutting table every step of the way though lol. But this method of cutting out the sequin fabric was a game-changer when I saw it! Let me know if you knew about this or if you're going to try it in the future!
Also, I want to note, the skirt does have darts in the front and back, but I sewed the lining first with the darts. To avoid having to make darts in the sequins, I laid the lining pieces on top of the cut-out sequin pieces and shaved off the excess fabric off the side seams.
Preparing the Fabric
So anytime you hear someone talking about sewing a sequin garment, you KNOW they're going to say that the sequins have to be removed from the seam allowance (SA). After I learned about the painter's tape trick for the pattern pieces, I figured it could work the same way for the seam allowances. Maybe not for the cleanliness, but at least to give me a guide on how many sequins I had to remove because different parts of the skirt front had different SAs.
It took me a little more than an hour and a half to remove sequins from ONE EDGE ALONE. So do the math; 4 edges, multiplied by 3 pieces, plus 1 (split), equals 13 edges... we're talking somewhere between 20 and 26 hours of just removing sequins! As much as I loved how this skirt came out, I can tell you I'm not jumping with excitement to do THAT again.
And like I said, I had my vacuum close, so after each edge, I went ahead and cleaned the sewing table so it never felt overwhelming. But even still, I found sequins even IN MY BED for weeks after LOL
Sewing the Fabric
To sew the pieces together, I used a microtex needle and that worked AMAZINGLY. Especially when I had to start taking in the side seams because 1. the pattern calls for woven fabric and I didn't take that into account, and 2. I also cut a size that fit the higher end of my fluctuating weight. So basically I was swimming in it.
I took the sides seams in 1/4" at a time on each side until it got to the point that I would have to remove MORE of the sequins I was sewing over and I decided I wouldn't take it in anymore because it would stick out like a sore thumb on the sides.
Otherwise, I didn't have any issues sewing the skirt together on my machine!
Finishes
I am really proud of the way I finished this skirt! The lining is from the CASA COLLECTION at JoAnn Fabrics. It is called "CASA SILKY SATIN BLACK". It says it's 100% Polyester, but that isn't true. It has a little stretch to it, which I appreciate in a lining.
I'll start off by saying I fully lined the skirt (keyhole included) with a clean machine finish. I sewed the main body pieces together at the side seams and did the same with the lining. I laid the lining on top of the main fabric (right sides together) and sewed the bottom edge all the way across (plus up and around the keyhole).
I opened that bottom seam, pressed and turned out the pointy asymmetrical parts of the hem. Then I folded the fabric "hot dog style" with the back pieces of the main fabric right sides facing, and the main pieces of the lining fabric right sides facing. Folding it that way, you have one LONG back seam to sew and I sewed it from the notch for the bottom of the zipper on the lining to the same notch on the main fabric.
After that, I turned everything right sides out and only had the opening at the waist edge that needed to be finished with the facing and the zipper!
To close the key hole, I just tacked the two ends together.
I hand-sewed the invisible zipper on the main fabric and machine-sewed the lining & waist facing. Surprisingly enough, to ME, it really turned out invisible!

I had to do a facing on TOP of the lining, because that was the only way my brain could wrap around the finishing lol. I serged the edge of the facing with brown thread that was already in my serger because I was getting pressed for time, but it doesn't look terrible.
Understitching was SUPER important and I really had to steam the facing to sit well on the inside.


Final Thoughts
I am ABSOLUTELY in love with the skirt!! I got so many compliments on it Frocktails, I am so proud of it. All that to say, it is still too big (and it was falling off of me at the event) (*secret: it was pinned to my top LOL)
I was originally debating whether or not I was going to take the time to make the proper adjustments to the skirt so that it fits, and I DEFINITELY AM.
I am going to have to take in the side seams of the lining, facing, AND the main fabric. That also means removing enough sequins to sew the correct seam allowance. I do love the skirt enough to put the effort in and I absolutely want to wear it again comfortably.
 |
| Photo by Anjelica Jardiel @anjelicajardiel |
Let me know what you think about this skirt in the comments! Feel free to give me advice on what you may have done differently.
NYC Frocktails
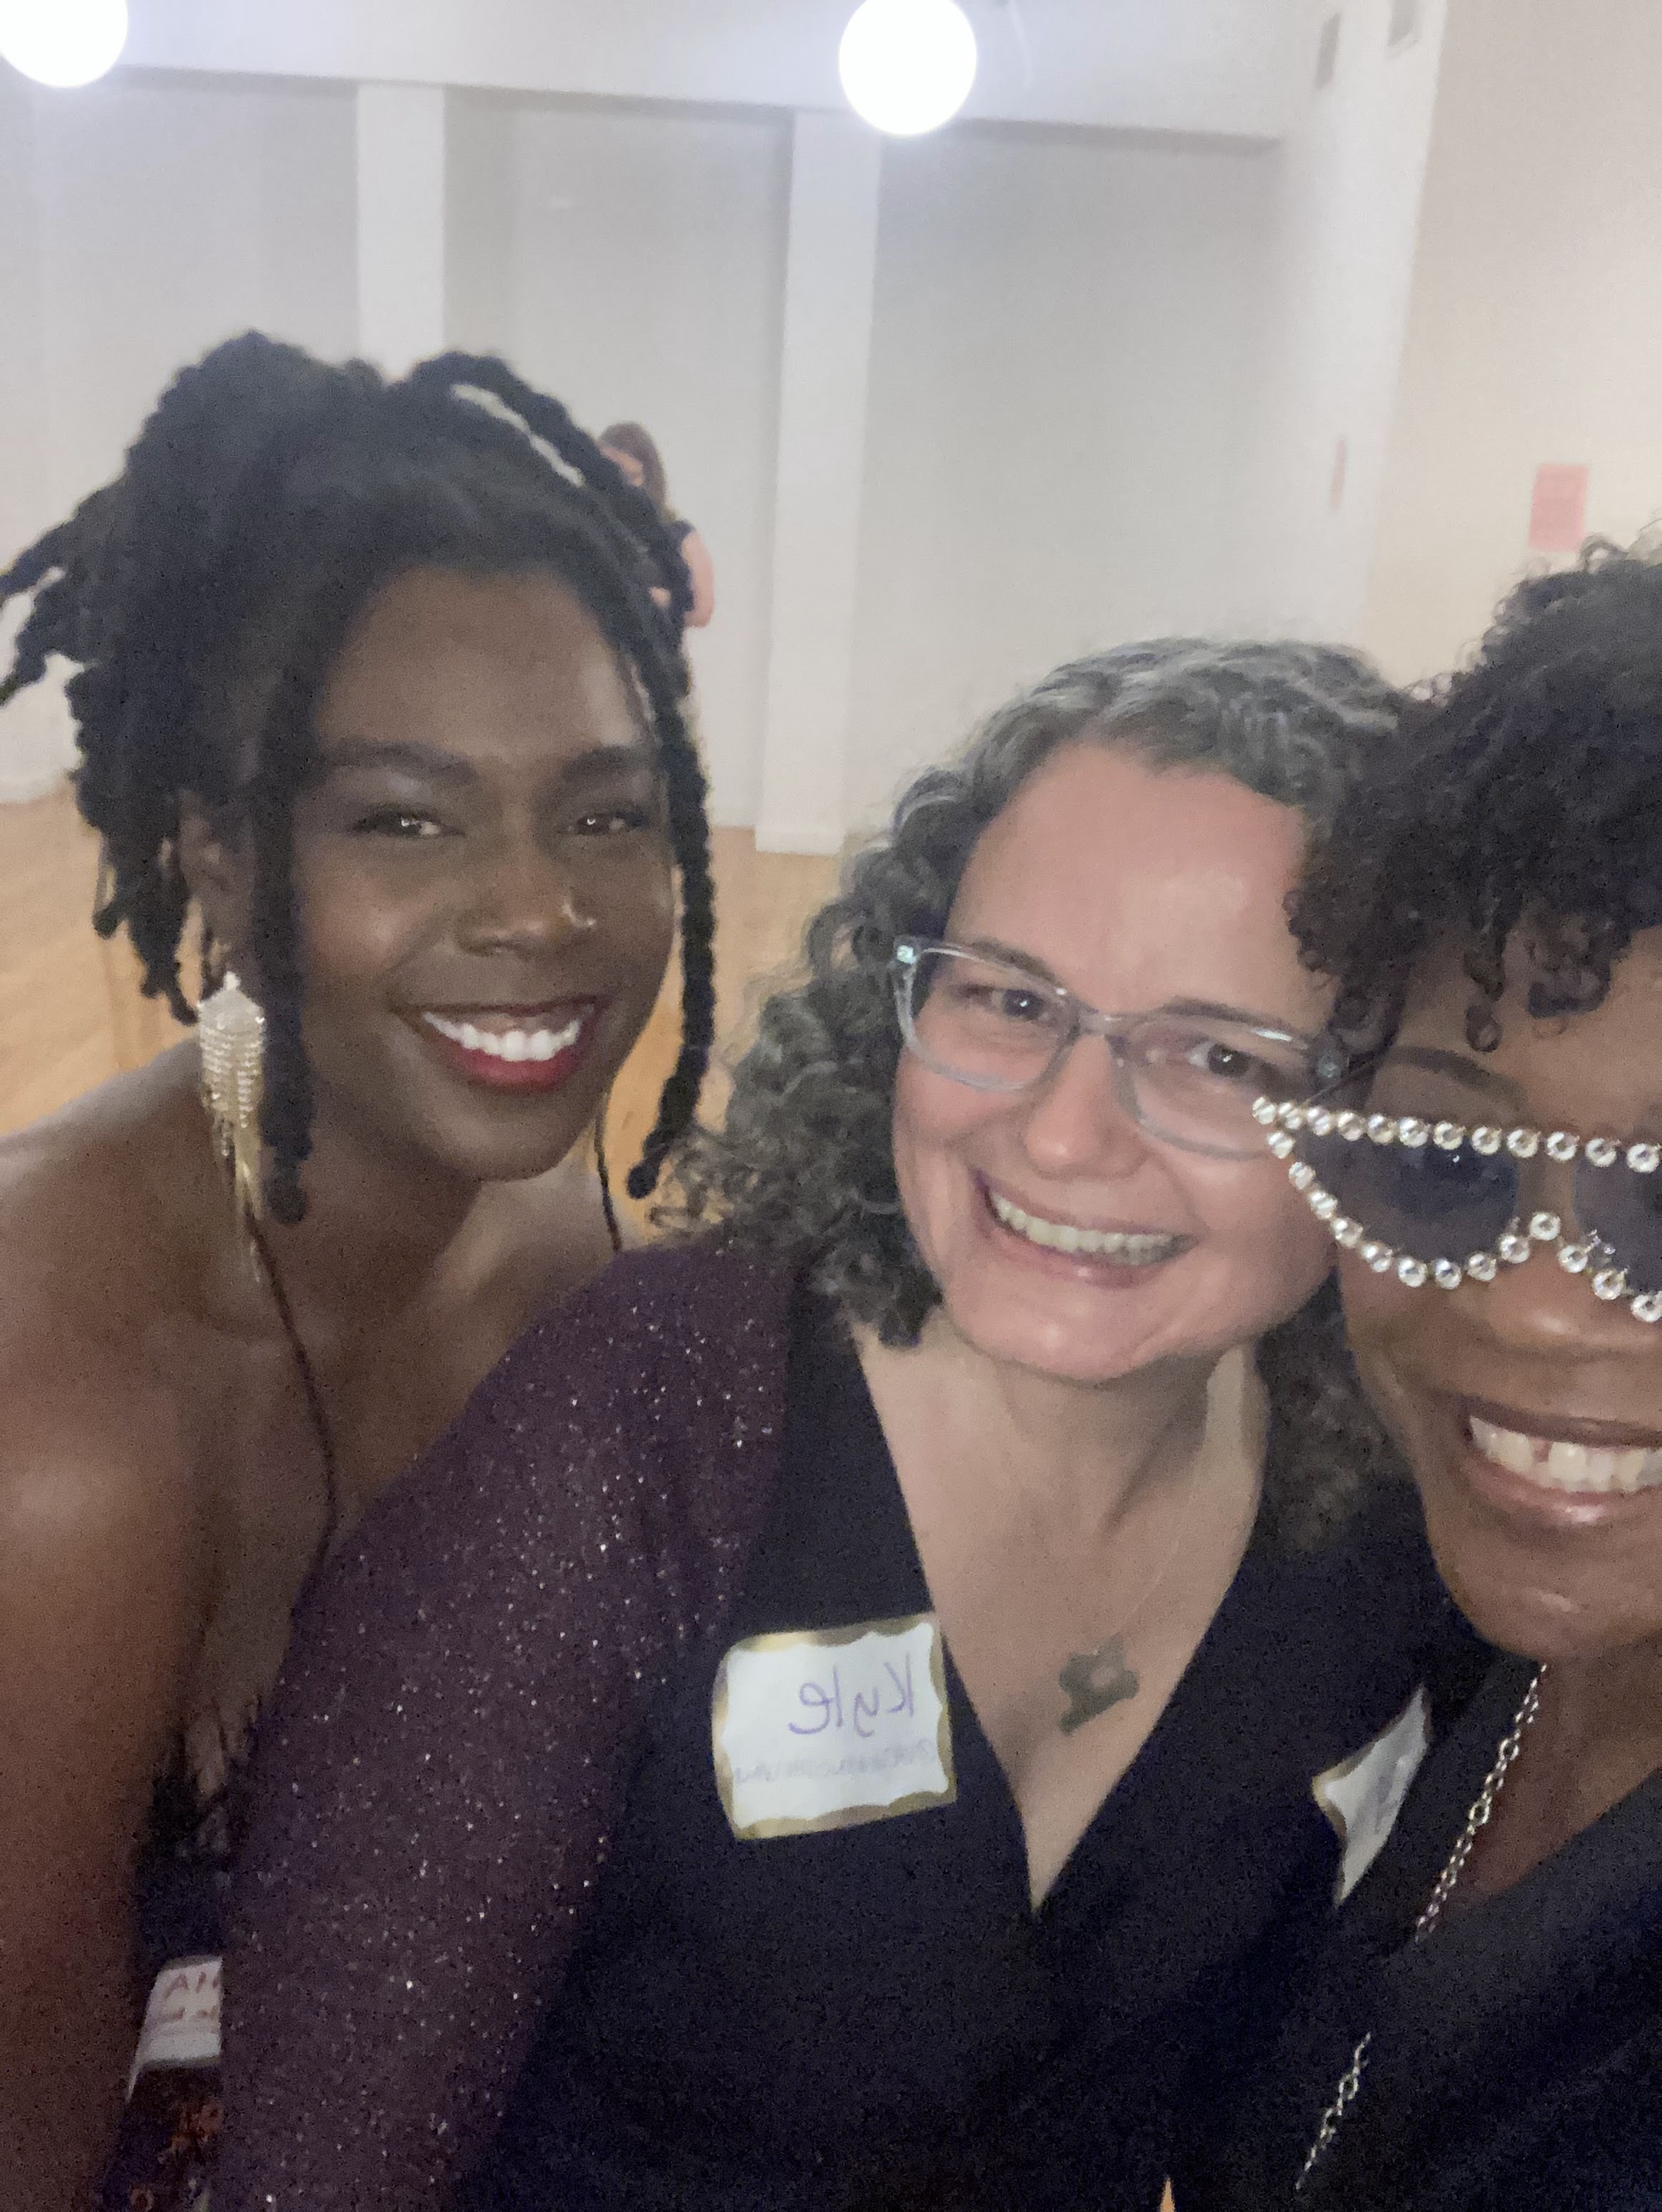
Now onto what I made the skirt for! lol I attended NYC Frocktails and I knew I wanted something that was going to STAND OUT, and that it did! I had SO much fun at Frocktails. Shoutout to Robyn and her small team for throwing such a successful event!
Feel free to check out my Frocktails weekend vlog below and check out some of the pics I managed to get even through my crisis lol (If you watch the vid, you'll understand)


See you soon!
xoxo,
Tasha
No comments:
Post a Comment
Thank you so much for taking the time to comment! :-D
I read each one and I do my best to respond to each of them personally :-)